

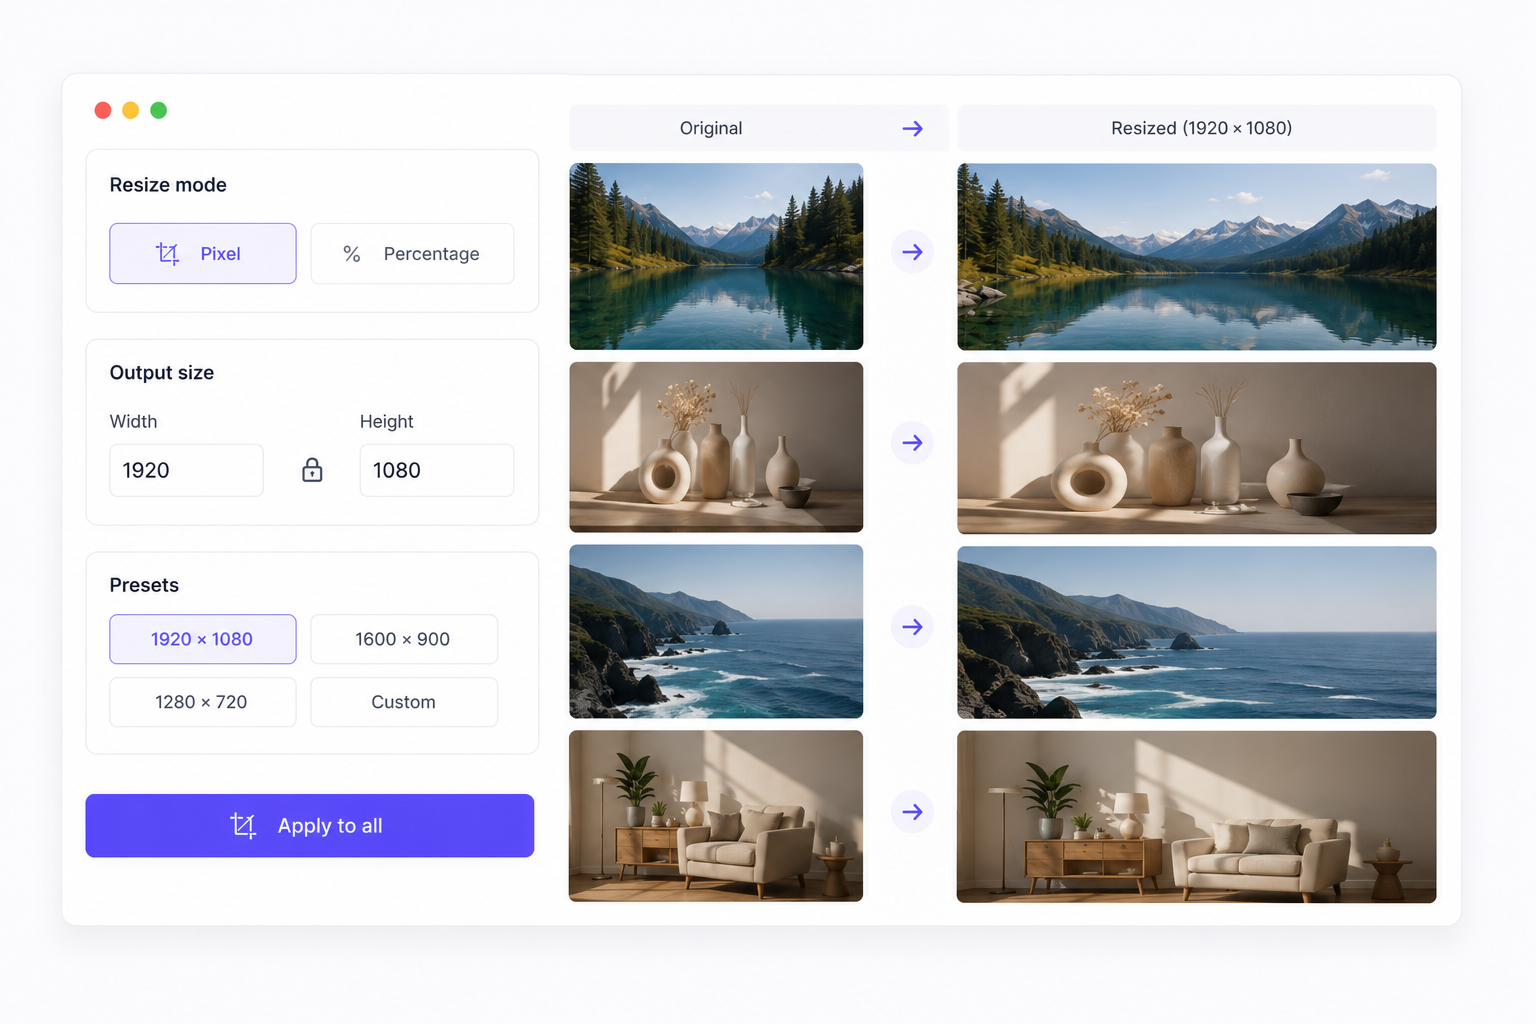
"We need all hero images at 1920×1080" is a simple brief — until you open the folder and find 847 files at six different resolutions. Resizing one by one in Photoshop or an online single-file tool turns a five-minute spec into an afternoon of repetitive work.
Bulk image resize should apply one rule to every file and let you move on to compress or watermark without starting over.
Where manual resizing falls apart
- Inconsistent output — Typing slightly different widths across files leads to broken layouts, blurry upscales, and client rework.
- Mixed aspect ratios — Locking width only or height only behaves differently on portrait vs landscape shots; manual math does not scale.
- CMS and email limits — Newsletters cap image width at 600px; doc sites want 1200px; ad specs want exact pixel counts — all in the same week.
- Re-upload fatigue — Resize on one site, compress on another. Teams waste time shuttling the same batch between tools.
How bulkimage.io resize works
The bulk image resize tool applies one resize rule to the full upload queue. Choose target width, height, longest edge, percentage scale, or exact pixel dimensions — preview every output, then export or chain the next step.
Processing runs locally in your browser for standard workflows, keeping sensitive assets on-device.
Key features
- Multiple resize modes — Scale by width, height, longest side, percentage, or fixed pixel box.
- Aspect ratio control — Lock proportions so portraits and landscapes resize predictably.
- Batch preview — Confirm output dimensions on each file before downloading.
- Format flexibility — Import JPEG, PNG, and WebP; export in the format your channel requires.
- Editor pipeline — Resize, then compress, watermark, or rename without re-uploading.
Common resize workflows
- Website hero standardization — Upload marketing folder → resize longest edge to 1920px → compress → export WebP.
- Email newsletter prep — Scale every inline image to 600px width → compress for inbox-friendly file sizes.
- App and SaaS screenshots — Resize UI captures to exact pixel frames for docs and release notes.
- Thumbnail generation — Scale product or gallery images to 400×400 for catalog grids, then crop if needed.
Tips for better results
- Resize before compress — Setting final pixel dimensions first helps the compressor target the right file size.
- Avoid upscaling small sources — Enlarging low-resolution assets beyond ~150% often looks soft; prefer cropping or sourcing higher-res originals.
- Use longest-edge mode for mixed orientations — One setting keeps both portrait and landscape files within the same maximum dimension.
Getting started
Upload batch → pick resize mode → set target size → preview → export
- Upload — Add your folder of mixed-resolution images to the queue.
- Configure — Choose width, height, percentage, or exact pixels; lock aspect ratio as needed.
- Export — Download individually or as ZIP, or continue to bulk image compress.
Stop resizing files one at a time. Open the bulk image resize editor and standardize an entire folder in one pass.